Organization Structure
Typograph organizes everything you create under a single hierarchy: Organization → Teams → Projects. Knowing how these three levels relate makes it much easier to find your way around sharing, roles, and billing.
The Hierarchy
Organization
  └─ Teams
       └─ Projects
            ├─ Templates   (the design files)
            ├─ Media       (images and assets used in templates)
            └─ Fonts       (fonts used in templates)
- Organization — the top-level account. One is created for you automatically the first time you sign up, with you as its owner. You can belong to multiple organizations (for example, a personal one plus your employer's), and create another for another company or a client.
- Teams — groups of collaborators within an organization. Use teams to separate departments, clients, or workflows.
- Projects — bundles of related work inside a team. Each project owns its own templates, media, and fonts — these three never span across projects.
Opening another organization
- Open your avatar menu at the top right and choose Organizations.
- Click the organization you want to work in.
Its settings, members, teams, apps, webhooks, plan and usage open, each on its own tab, and so do the assistant's settings where it is available.
Creating a Team
- Go to Organizations → {Your Org} → Teams.
- Click Create team.
- Give the team a name and click Create.
When your plan has no room for another team
Your plan sets how many teams the organization can have: Free has one, Pro and Enterprise have no limit (see Subscription & Usage). Under Teams the page shows how many are in use, such as 1 of 1 team. Once they are all in use, Create team is off, and the page says why:

To make room, move a team to the trash, or click See the plans to ask for another plan. Teams in the trash don't count, but restoring one does: a team is restored only while there is room for it.
Creating a Project
-
Open the team you want the project in.
-
Click New project, at the top right or on the dashed Create new Project tile after the projects.
-
Give the project a name of 3 to 255 characters and click Create project.
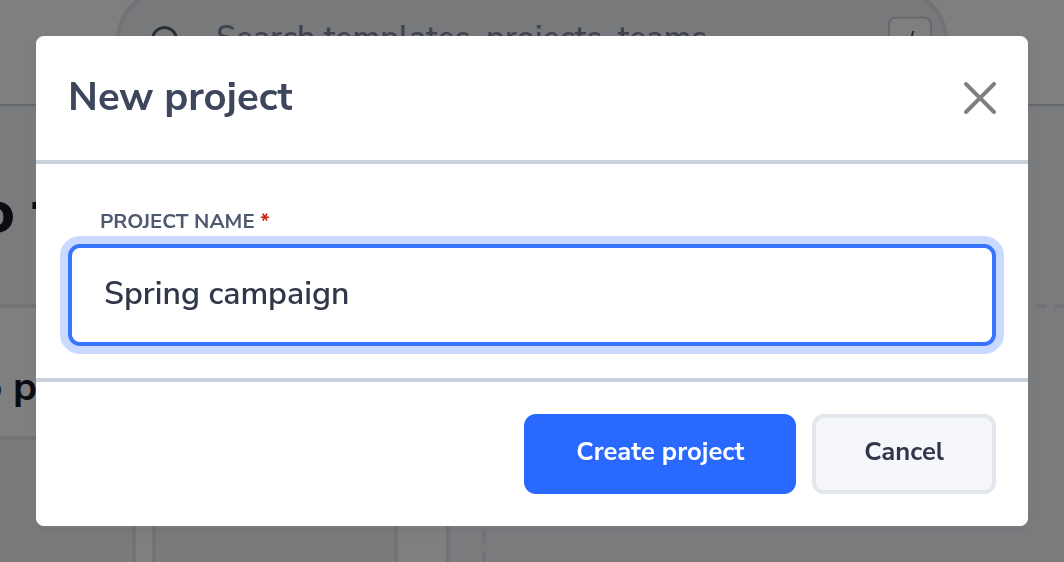
You land in the new project, with the message Project created. It starts empty: add templates, media, and fonts to it once it exists.
Moving a Project
Need to move a project to a different team, for example after a reorganization?
- Open the project's ⋮ menu, at the top right of the project or on its card in the team (see below), and select Move.
- Pick the destination team.
- Confirm the move on the summary screen.
The project keeps its templates, media, fonts, and sharing settings — only its parent team changes.
Renaming a Team or Project, or Moving It to the Trash
-
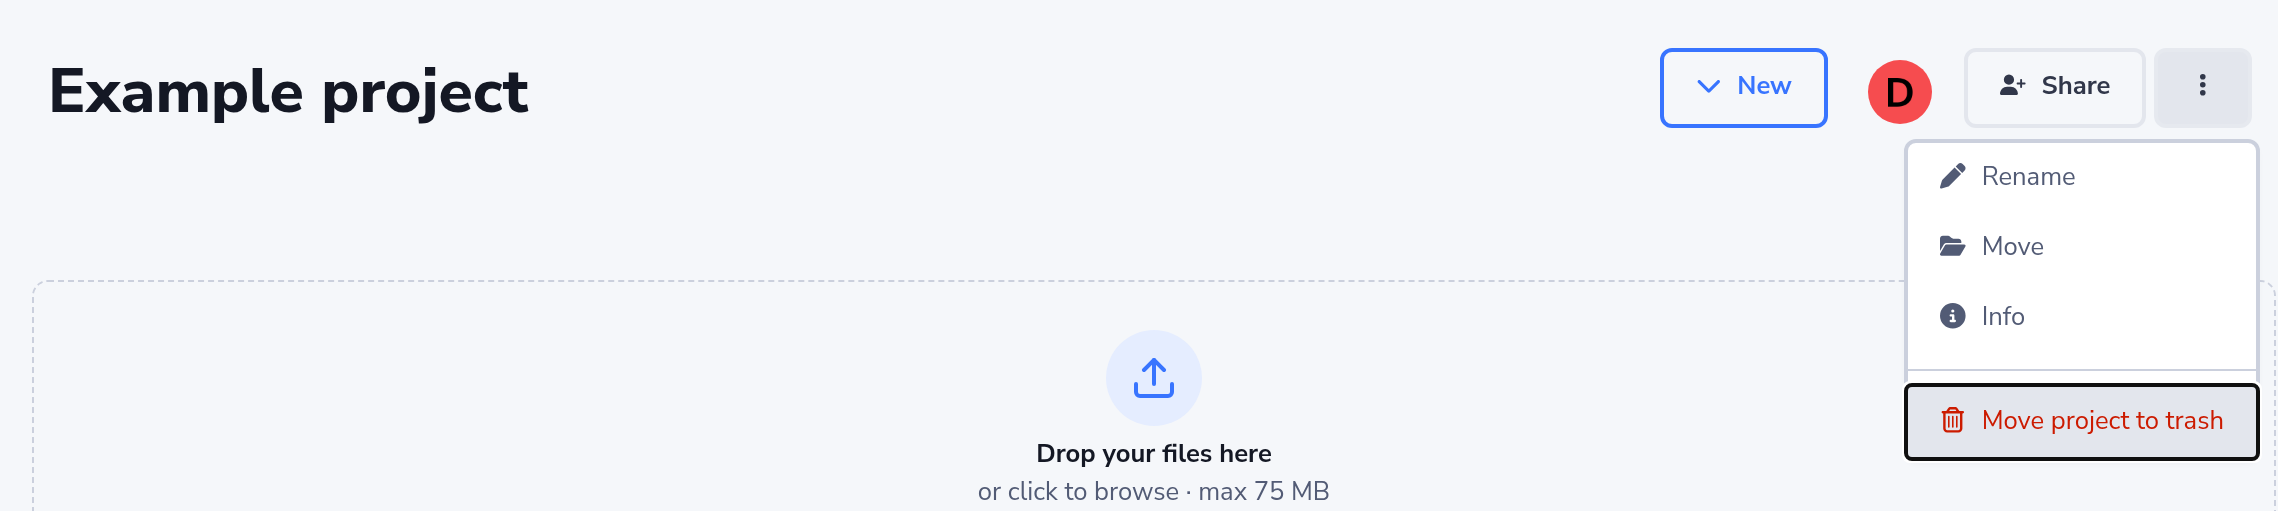
Open the team or project, and open its ⋮ menu, next to Share at the top right.
-
Choose Rename to change its display name, or Move team to trash / Move project to trash to remove it.
-
To move it to the trash, type its name and click Move to trash. The button stays disabled until the name matches.
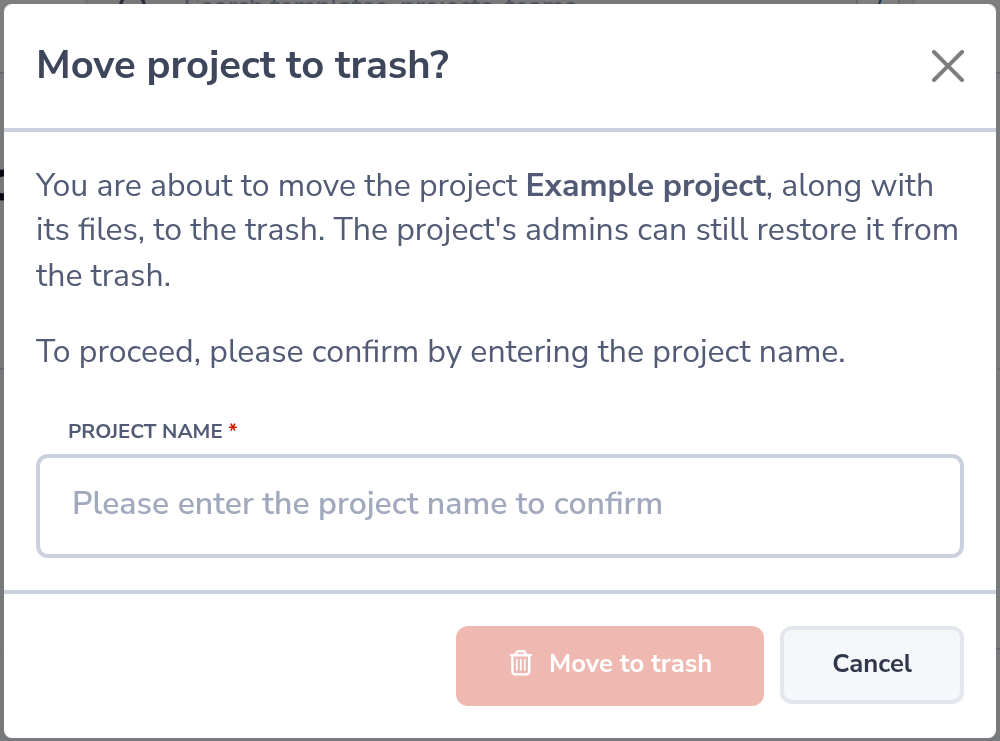
After moving a project you land on its team's projects, with the message Project moved to trash; after moving a team, on your dashboard, with Team moved to trash. Nothing is erased right away: the team or project, and everything inside it, can be restored from the trash for 30 days by its admins (for a team, the team admins). See Trash for how to bring it back.
By its title
You can also rename a team or project by clicking its name at the top of the page. A pencil shows next to the name when you point at it, and the Rename dialog opens. You see this only when you can edit the team or project.

From the team, without opening the project
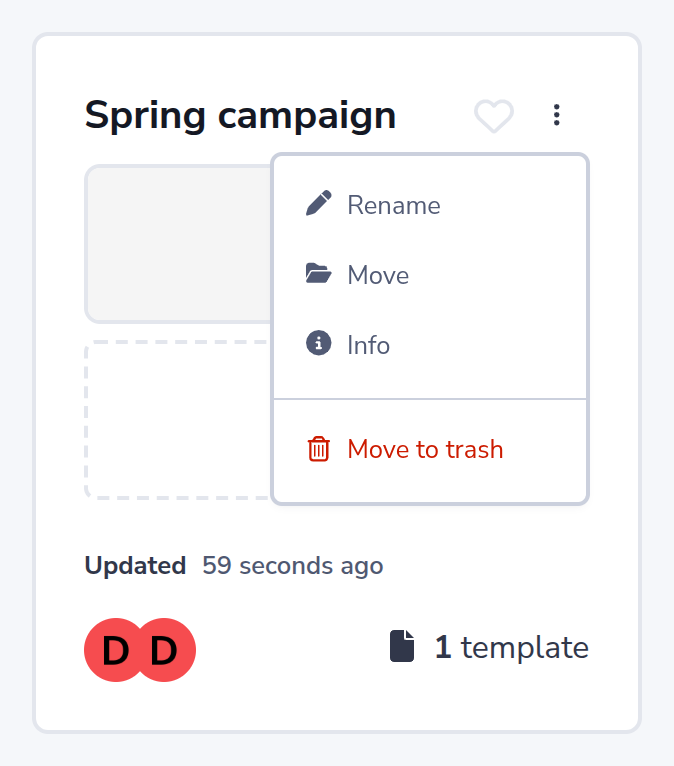
Each project's card in the team has a ⋮ menu of its own, next to the heart: Rename, Move, Info (how much storage the project uses), and Move to trash for the team's admins. They open the same dialogs as the menu inside the project.
Related
- Invites — how access is granted at the organization, team, and project level
- Portal Overview — where organization-level tools (apps, webhooks, subscription, usage) live
- User Roles — the full organization and resource role model
- Permissions — the detailed permission model and resource-level sharing