Editor Overview
The Editor opens whenever you create or click a template in the Portal. It's where you design — adding text, shapes, and images to your pages. This page gives you a tour of the layout before the other Editor guides walk through specific tools.
Opening the Editor
-
In the Portal, open a project and go to its Templates tab.
-
Click an existing template card. To start a new one, click New template and choose Blank template in the Gallery (see Creating a Template).
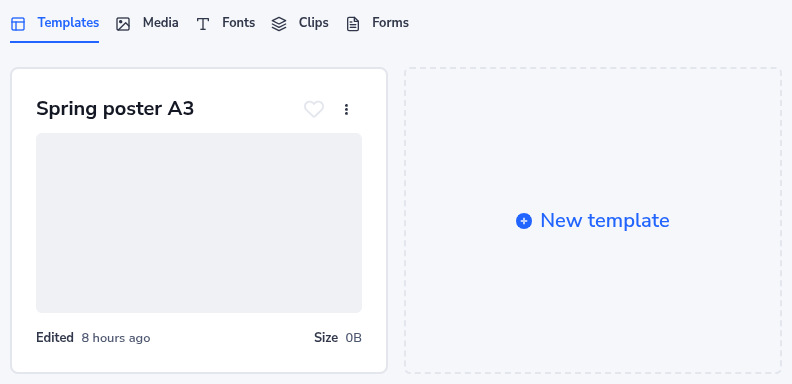
Click a template card here to open it in the Editor.
-
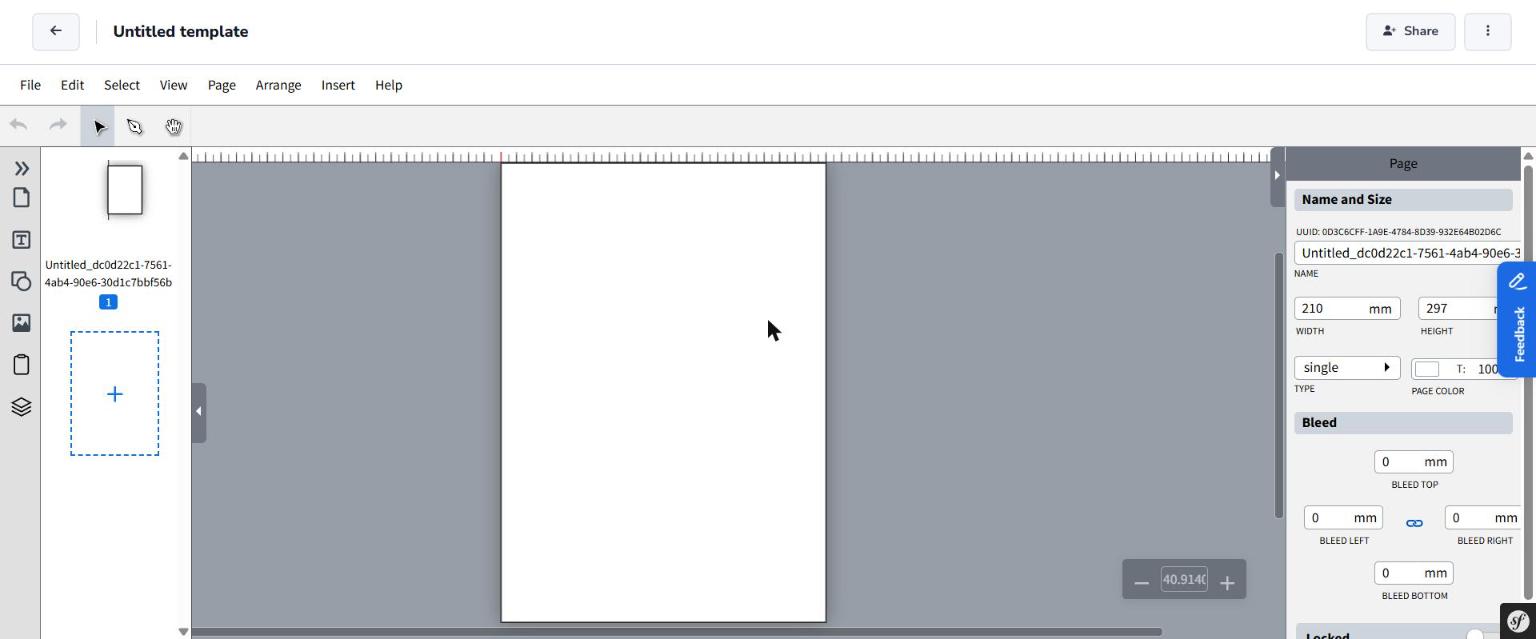
The Editor opens with your template loaded, ready to edit. Changes autosave as you work — there's no separate "save" step for normal edits.
Finding Your Way Around
The Editor screen is split into five areas:
| Area | Location | What it's for |
|---|---|---|
| Menu bar | Top | File, Edit, Select, View, Page, Arrange, Insert, and Help menus |
| Toolbar | Below the menu bar | Quick access to the tools you'll use most (select, text, shapes, zoom) |
| Left panel | Left side | Switch between Pages, Text snippets, Shapes, Images, Clips, and Layers |
| Canvas | Center | Your page — this is what you're designing |
| Right panel | Right side | Properties for whatever is selected — the page itself, or an element on it |
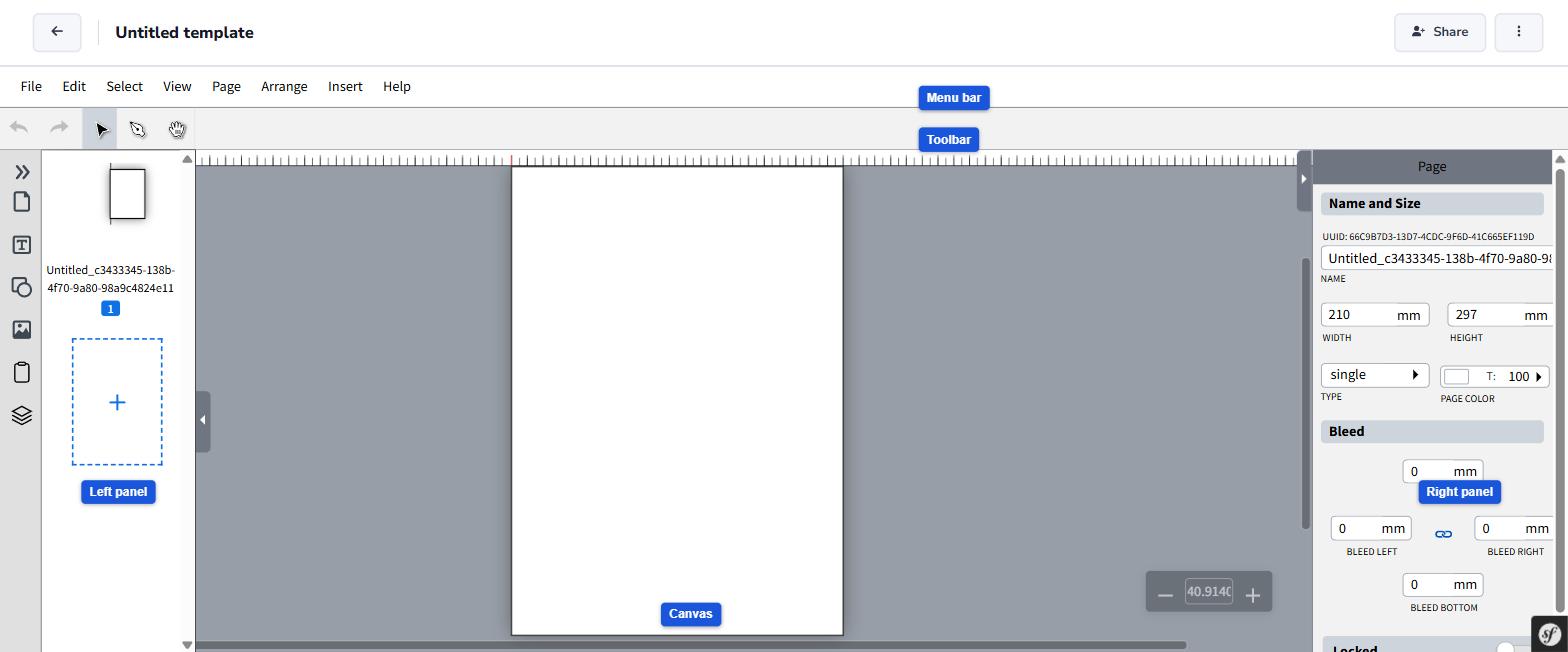
Top to bottom, left to right: menu bar, toolbar, left panel (currently on the Pages tab), canvas, right panel.
-
Look at the left panel and click through its tabs: Pages, Text, Shapes, Images, Clips, Layers. Each tab shows a different set of things you can drag or click onto the canvas.
-
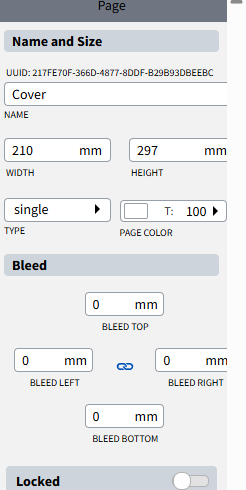
Click an empty area of the page (nothing selected). The right panel shows page properties — name, size, background color, bleed.
-
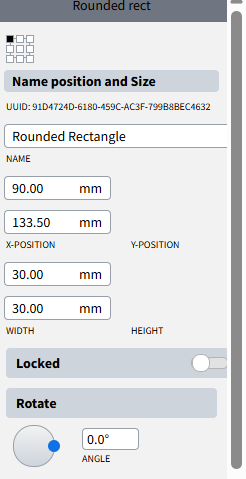
Click any element already on the page. The right panel switches to element properties — position, size, rotation, and other options specific to that element.
-
Click away from the element (on empty canvas) to deselect it and return to page properties.
Zooming and Viewing Your Page
-
Open the View menu.
-
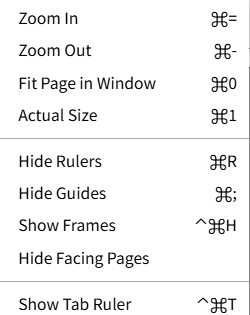
Choose Zoom In or Zoom Out to change your zoom level, or Actual Size to reset it to 100%.
-
Choose Fit Page in Window to zoom so the whole page fits on screen — the fastest way to get your bearings after zooming in to work on detail.
-
Still in the View menu, turn the rulers and guides on or off. Each item names what it will do: it reads Show Rulers while the rulers are hidden and Hide Rulers while they are shown, and the same goes for Show Guides and Hide Guides.
When a Template Is Full
At most 8 people can work in one template at the same time. Everyone who has the template open counts, whatever they may do in it; a second window of your own does not count again.
When you open a template that 8 other people already have open:
- The template opens read-only. The top bar says 8 people are editing; point at it to read why: you can edit as soon as one of them leaves.
- Leave the window open. The Editor asks again for a place by itself, every 10 seconds or so.
- As soon as someone closes the template, you take their place: the notice goes away, You can edit now. appears, and you edit as usual.
If you may only view the template, the top bar says This template is full instead, and the live view of the others' pointers starts once a place frees.
Next Steps
Now that you know your way around, continue with: