Managing Pages and Layers
Most templates have more than one page, and most pages have more than one overlapping element. This page covers organizing both.
Adding a Page
-
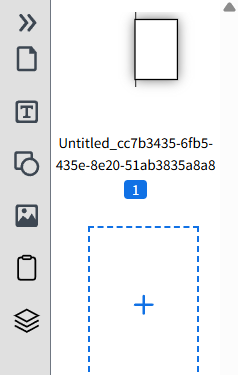
Open the Pages tab in the left panel to see all the pages in your template.
-
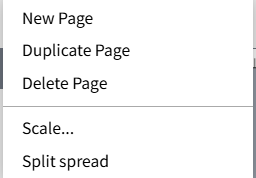
Open the Page menu and choose New Page — it's added after your current page.
-
Click the new page's thumbnail in the left panel to switch to it.
Duplicating and Deleting a Page
- Select the page you want to copy in the Pages tab.
- Open the Page menu and choose Duplicate Page — an identical copy is added right after it.
- To remove a page, select it and choose Delete Page from the Page menu. If you have multiple pages selected, this becomes Delete Pages.
Both items are in the Page menu shown under Adding a Page.
Changing Page Settings
-
Click an empty area of the page (make sure nothing is selected).
-
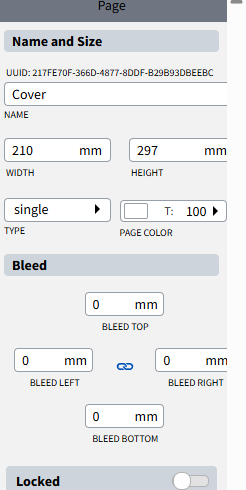
The right panel shows the page's properties: name, width and height, type, background color, and bleed.
-
Update the name field so the page is easy to identify in the Pages tab.
-
Adjust width and height to resize the page itself (not an element on it).
-
Turn on bleed and set the top/right/bottom/left values if your template needs printer's bleed — use the link button next to the bleed values to set all four sides at once.
Layering Elements
When elements overlap, their stacking order determines what's on top.
-
Select an element that's hidden behind another one.
-
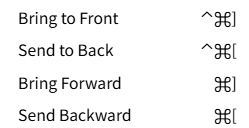
Open the Arrange menu and choose Bring to Front to move it above everything else, or Bring Forward to move it up just one level.
-
Use Send to Back or Send Backward the same way to move an element down the stack.
Using the Layers Panel
-
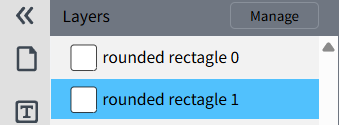
Open the Layers tab in the left panel to see every element on the current page, listed in stacking order.
-
Click a layer's name to select that element on the canvas — useful when elements overlap too much to click directly.
-
Drag a layer up or down in the list to reorder it, same effect as the Arrange menu commands above.
Grouping Elements
-
Select multiple elements at once (click one, then shift-click the others, or drag a selection box around them).
-
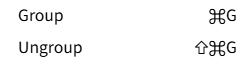
Open the Arrange menu and choose Group — they now move, resize, and select together as one unit.
-
To edit one element inside the group again, select the group and choose Ungroup from the same menu.
Next Steps
Continue with Saving, Undo/Redo, and Exporting.